Cube Kitty Cat
Cube Kitty Cat
Skill Level:
Finished Size:
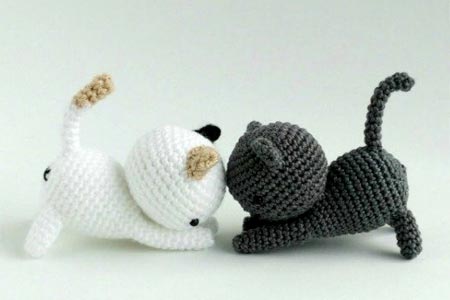
The four sizes covered by this pattern
Materials:
-
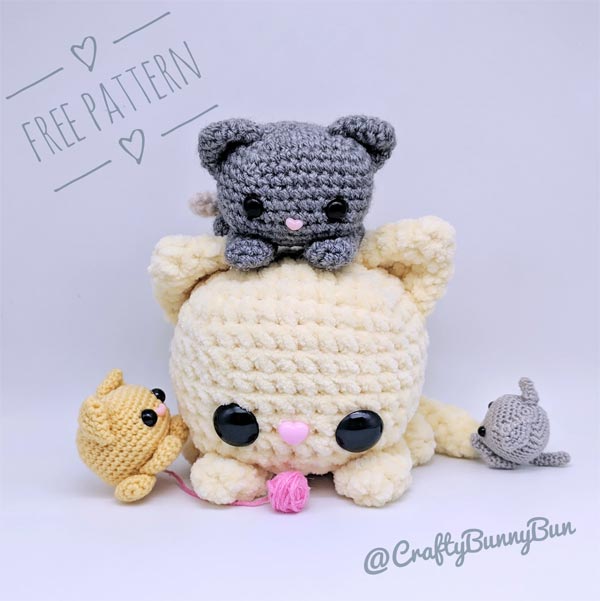
You can make this pattern in any size you wish by simply using a different yarn weight. Here I will list the material I used for the 4 sizes kitty pictured above:
- 5mm crochet hook
- Chunky Chenille yarn in color of choice
- 20mm button eyes, heart nose Medium sized kitty:
- 3mm crochet hook
- DK yarn in color of choice
- 8mm safety eyes, small pink nose (8mm or smaller) Small sized kitty:
- 2mm crochet hook
- DK yarn in color of choice
- 7mm safety eyes, small heart shape pink nose Tiny sized kitty:
- 1mm crochet hook
- Thread cotton yarn in color of choice
- 6mm safety eyes, used pink thread for nose.
The largest kitty:
Abbreviations, Notes and Tips:
- MC: Magic circle
- 2-sc inc: 2 sc in next st (increase by 1)
- 3-sc inc: 3 sc in next st (increase by 2)
- sc2tog: 2 sc together (decrease by 1)
- sc3tog: 3 sc together (decrease by 2)
This pattern is made in a spiral of continuous rounds
Body (make 1)
| Row # | Instructions | Stitches |
| R1 | 4-sc MC | 4 |
| R2 | 3-sc Inc X 4 | 12 |
| R3 | sc, 3-sc inc, [sc x 2, 3-sc inc] x 3, sc | 20 |
| R4 | sc x 2, 3-sc inc, [sc x 4, 3-sc inc] x 3, sc x 2 | 28 |
| R5 | sc x 3, 3-sc inc, [sc x 6, 3sc-inc] x 3, sc x 3 | 36 |
| R6 | sc x 4, 3-sc inc, [sc x 8, 3-sc inc] x 3, sc x 4 | 44 |
| R7 | sc x 5, sc2tog, [sc x 9, sc2tog] x 3, sc x 4 | 40 |
| R8 - 13 | sc x 40 | 40 |
| R14 | sc x 4, sc3tog, [sc x 7, sc3tog] x 3, sc x 4 | 32 |
| R15 | sc x 3, sc3tog, [sc x 5, sc3tog] x 3, sc x 2 | 24 |
|
Stuff well. Place the nose between R11 and R12 in the middle of the face. If you are using large eyes (larger than 15mm) place the eyes at the same level as the nose (between R11 and R12). If not, add eyes one row above the nose (between R10 and R11). The eyes look cuter if they are ~2-3 sts away from the nose on each side. Try the distance that looks best to you and once you are happy with it, fix them in place. See pictures for reference. |
||
| R16 | sc x 2, sc3tog, [sc x 3. sc3tog] x 3, sc | 16 |
| R17 | [sc, sc3tog] x 4 | 8 |
| Sew the ends together to close the gap. | ||
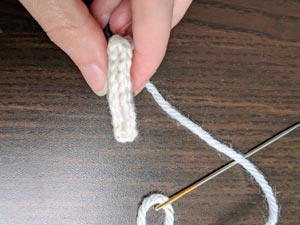
| R1 | 5-sc MC | 5 |
| R2 | 2-sc inc x 5 | 10 |
| R3 - 7 | sc x 10 | 10 |
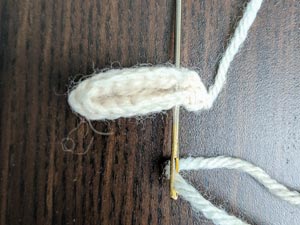
| Leave long tail. Do not stuff. | ||
| R1 | 5-sc MC | 5 |
| R2 | 2-sc inc, sc, 2-sc inc, sc, 2-sc inc | 8 |
| R3 | [sc, 2-sc inc] × 4 | 12 |
| R4 | [sc × 2, 2-sc inc] × 4 | 16 |
| R5 | [sc × 3, 2-sc inc] × 4 | 20 |
| Leave long tail. Do not stuff. Sew the end of the ears together as shown in the pictures. |
||
Fold the ears. |
Then sew ends of ears together here. |
tail (make 1)
Optional, use a different color for the first two rounds.
| R1 | 6-sc MC | 6 |
| R2-12 | sc x 6 | 6 |
| Leave long tail. Do not stuff. | ||
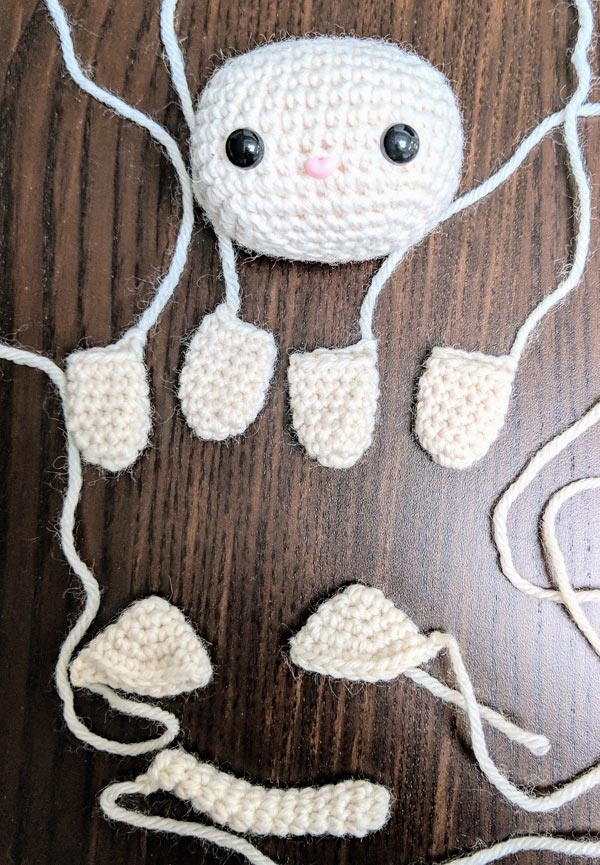
Here are the parts to be assembled.
| Attach unstuffed legs to the bottom of the kitty body. You can place them as you wish. You can see how I prefer to place them in the picture on the left. Tip, use pins to see how they look like before you sew them in. |
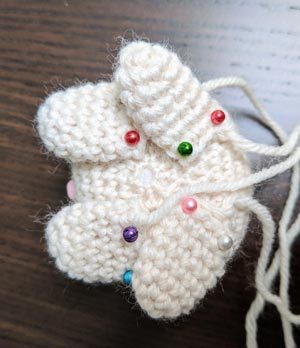
Attach unstuffed legs to the bottom of the kitty body. |
|
Attach the ears so one end is on R3 and the other end is on R7. |
Attach the ears so one end is on R3 and the other end is on R7. For extra cuteness place them so they curve a little as per the picture: | |
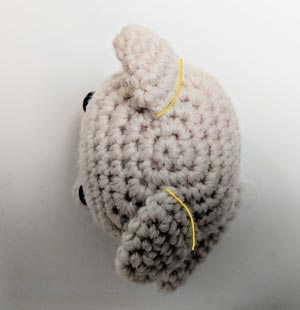
| Sew the tail at back the body (R12). You can attach it a little to the side of the body as per picture | 
Sew the tail at back the body. |
The four sizes covered by this pattern